Berg Pouch and Chisel Cleanup
I really didn’t need another project, but the Berg chisels looked decent and the price was right. The decal on one chisel was coated with yellow gunk. I was not sure what it was … maybe paint or glue. The chisel pouch did not look very promising. It looked filthy and stained, plus it had handwriting on the inside flap.
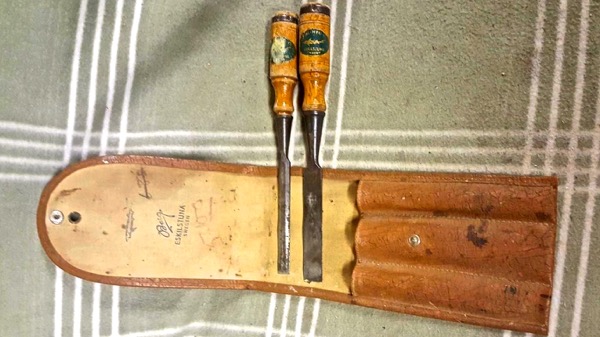
Here is a closer look at the chisels. Based on the condition of the tops of the handles, it was evident that they had seen some use. I noticed that the handle was backwards on the wider chisel, but that seemed a non-issue for a socket chisel. I’m was not sure what the 5.00 on the inside flap of the pouch meant, but perhaps that was the asking price at a past garage sale.
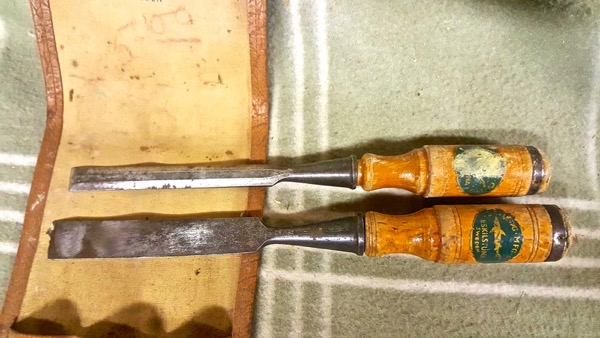
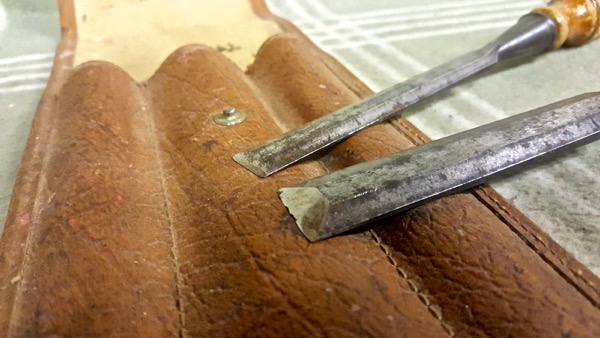
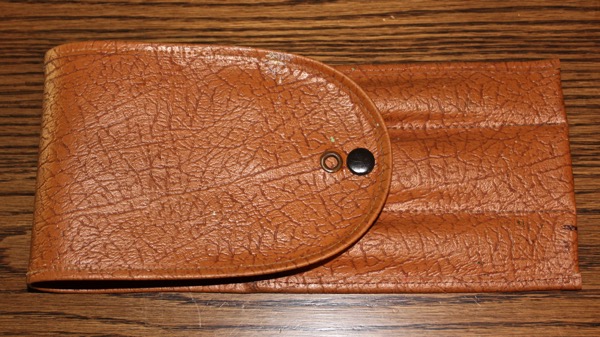
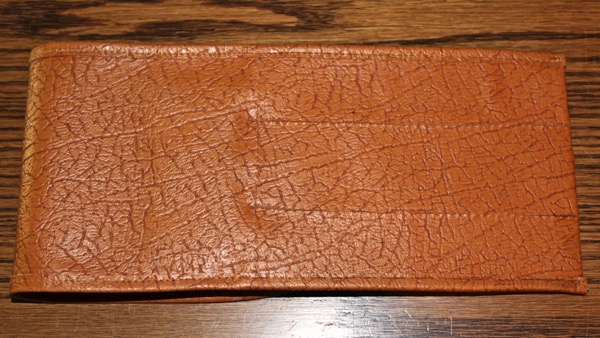
The blades did not appear to be corroded. There was some surface oxidization and foxing, but that is not usually a problem. The blades need some work on their edges, especially the wider one. The outside front of the pouch looked very grungy.
When the chisels arrived, everything looked pretty much a was shown in the above photos. The pouch was filthy and stained, so I decided to tackle that first. I used water, Sunlight liquid dish washing soap, and a small scrub brush to scrub the pouch clan. That worked very well, especially on the imitation leather pouch material. Only a few small paint splatters and stains remained on that material by the time I was done.
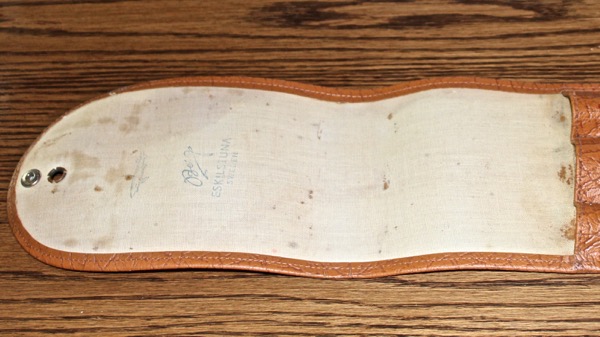
The fabric on the inside of the pouch was more difficult and some stubborn stains remained. Still, the fabric looked clean and all of the hand written numbers had washed off. I was not very aggressive on the cloth-like material because I did not want to lose the blue Berg shark and lettering. Still, the soap and water did fade the shark and lettering a bit.

With that done, I turned my attention to the decal on the narrower chisel. As I mentioned earlier, the decal was coated with yellow gunk that turned out to be oil-based paint.

The paint smear was stuck firmly on the decal, so the first thing that I did was clean the decal with some water on a paper towel. That removed some loose paint on the surface. Then I scraped an edge of the paint smear with my thumb nail. A bit of paint reluctantly came off, so I decided to try to remove the paint mechanically.
My weapon of choice was a sharp razor blade with the edge burnished into a hook, like a mini card scraper. I used the burnishing tool (upper right) that I recently got from Lee Valley to burnish the edge, but any round piece of hard steel would work well.
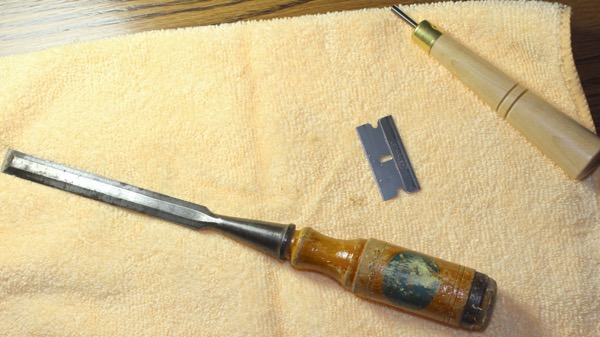
I tried a couple of small test areas using the razor blade with the burnished hook. That worked well. The hooked edge helped me avoid digging into the decal.
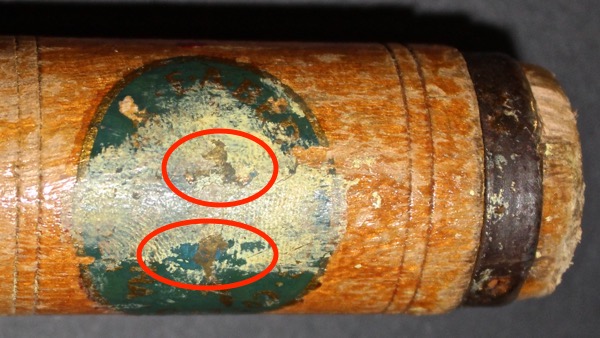
More confident, I began scraping the paint off — softly, slowly, and systematically. On the left are some of the larger crumbs of paint that I was able to remove.
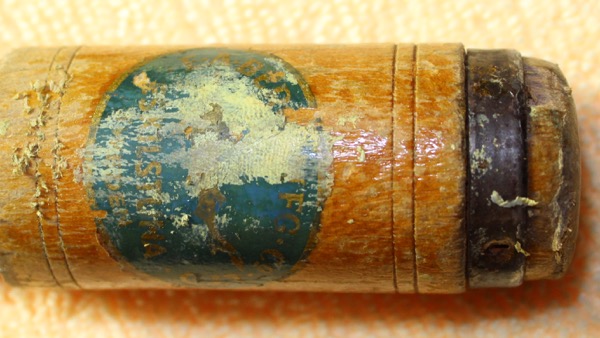
The label looked like this by the time I was finished. I was satisfied with the results and was happy to see that the damage to the decal under the paint was moderate. Note the variations in color on the decal. The green areas are the result of dark orange shellac covering the blue label.
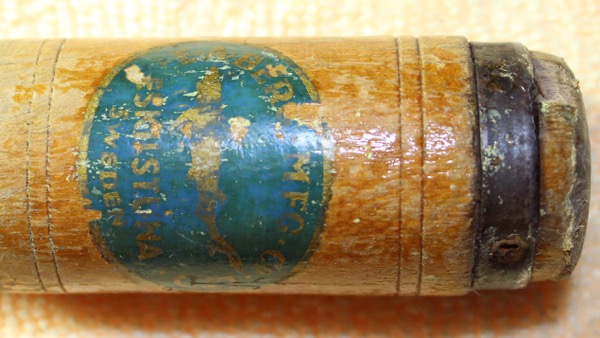
This cleanup took me about an hour and one-half — far less time than it took me to create this post. Here is the “before” photo once again.

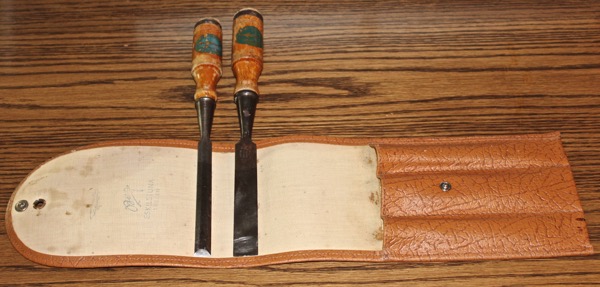
And here is the “after” photo. Now, I think I’ll poke around and see if I have a third chisel to complete the set. 🙂
Leave a Reply