Mathieson Infill Repair – Part 1
When I received this Mathieson No. 843 coffin-shaped smoother, the repaired tip of the handle popped off immediately. The glue just didn’t hold. Also, the handle had two narrow through-and-through cracks and was very unstable. Removing the handle was not an option because the big screw extending through the rear handle was glued in place.
I decided to try very thin CA glue (i.e. cyanoacrylate glue or super glue) to do all of the repairs. It worked great. The plane will look better when refinished, but is usable now. I will show the refinishing in Part 2.
Note the cracks in the rear handle or tote.
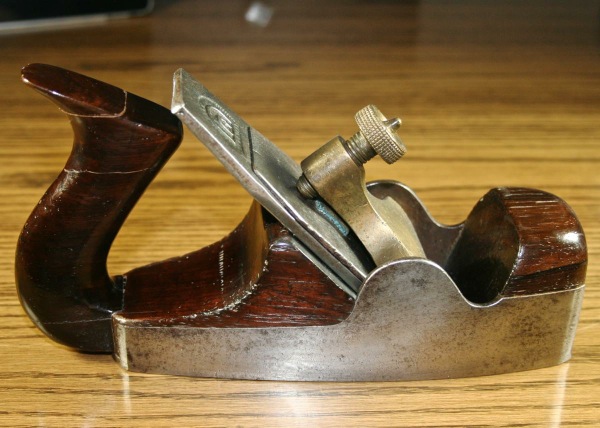
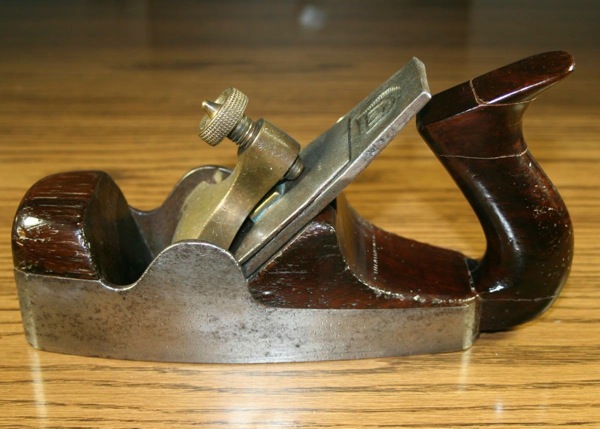
Here’s a view of the other side. The two lower cracks go completely through the handle and make it wobbly when used.
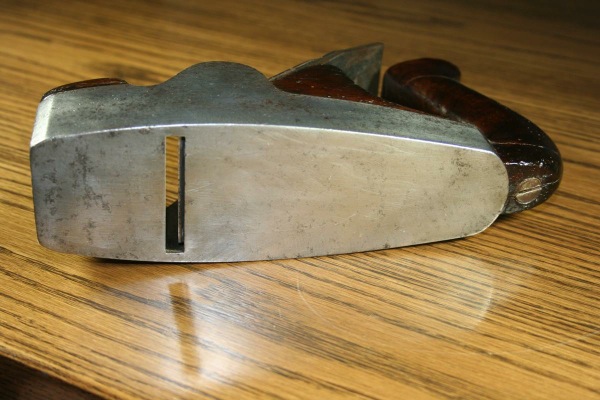
The big screw that extends up and through the rear handle was glued in place, making repairs difficult.
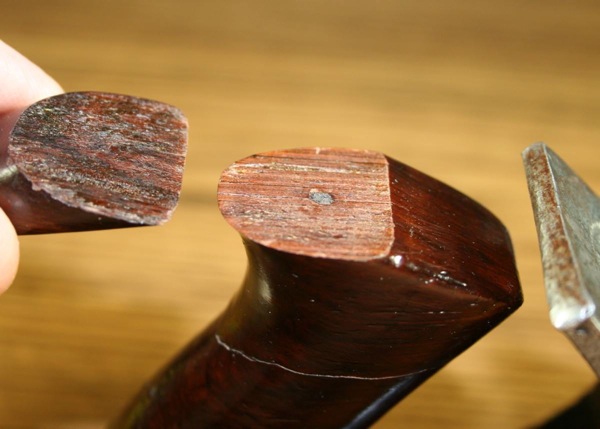
The tip of the handle popped off as soon as the plane arrived. The glue joint (looks like epoxy) did not hold.
I repaired the tip of handle with very thin CA glue. (First, I carefully scraped all existing glue off down to the bare rosewood). All deep cracks were filled with several applications of thin CA glue. (Remember to mask off all openings to prevent leaking. DAMHIKT.)
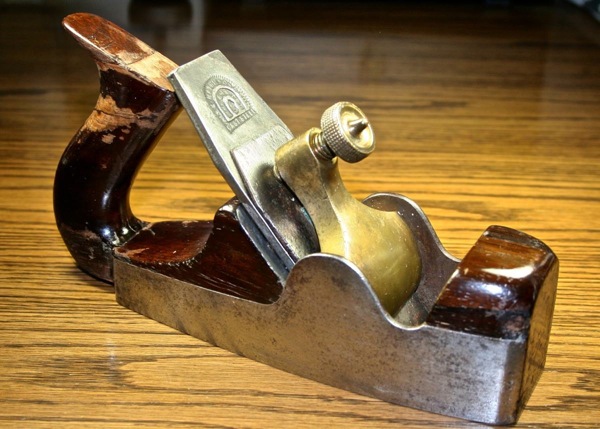
Here’s a closer view of the repairs on this side.
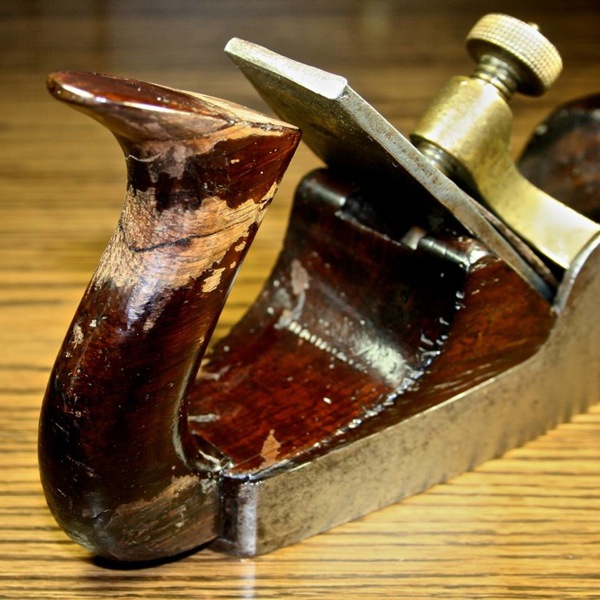
Here is a view of the other side. I made a small scraper from a single-sided razor blade to remove the excess CA glue. (I put a little burr on the razor’s edge by running it firmly along the shaft of a router bit.) I also used this little scraper to remove irregularities in the wood where the glue joints meet.
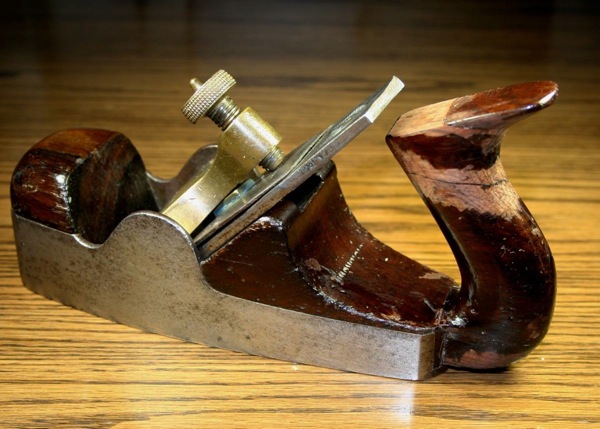
Here is a lose up of this side.
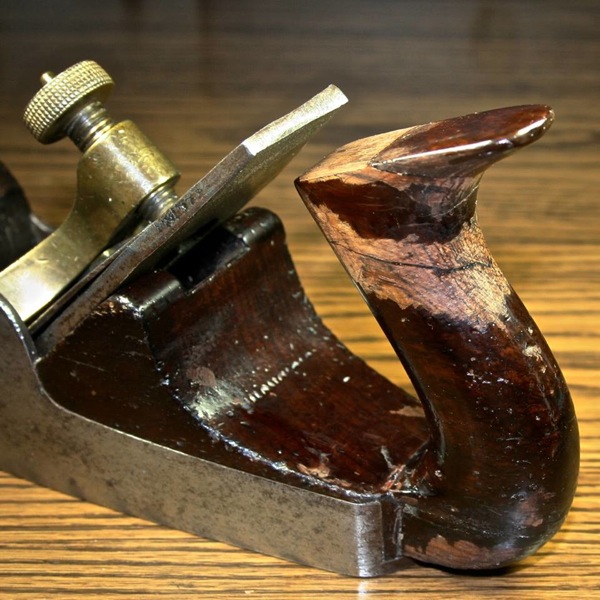
Here is a view of the back. The handle is now stable enough to use for planing without fear of damage.
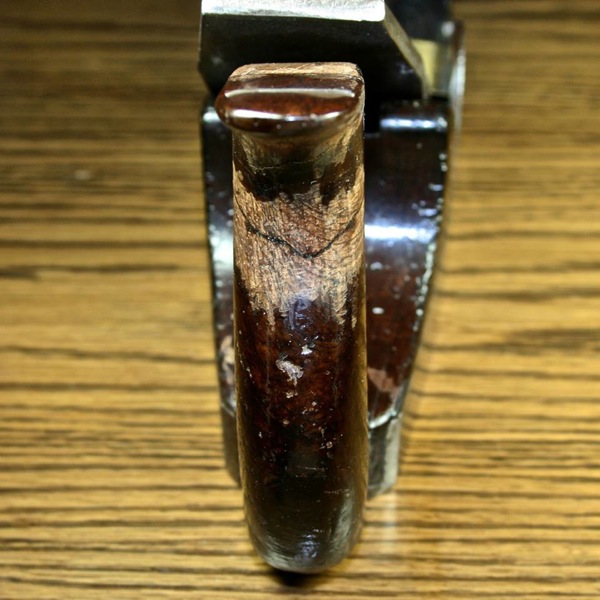
Here is a final view showing the plane on it’s side.
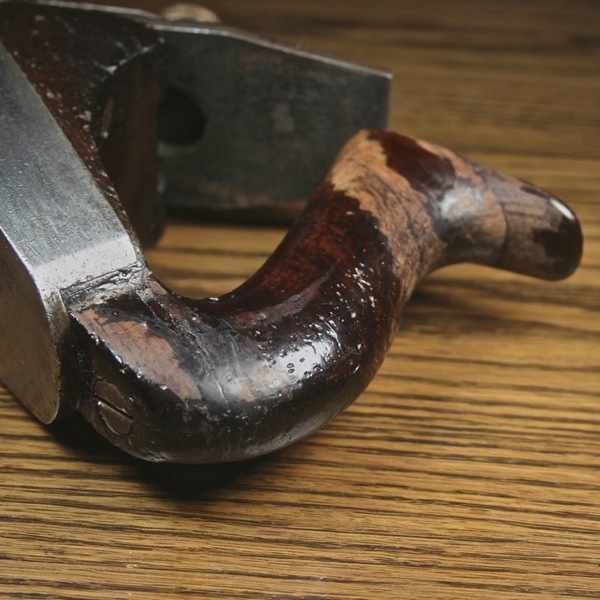
I can use the plane now but still need to refinish the handle, at minimum. I haven’t decided yet how far to go with the refinishing. Once I do decide, I will complete the refinishing and show the process and results in Part 2.
Leave a Reply