Refurbishing a Keen Kutter K5
I like Stanley Bedrock Type 4 (1908 – 1910) planes and their Keen Kutter and Winchester variants. Their quality, simplicity, and appearance all appeal to me.
I found a Keen Kutter K5 a while ago that was in terrible condition except for the rosewood knob and tote. It was caked with oil, grease, dirt, and rust and seemed beyond redemption. I thought I’d spend a couple of hours working on it to see if there was any hope.
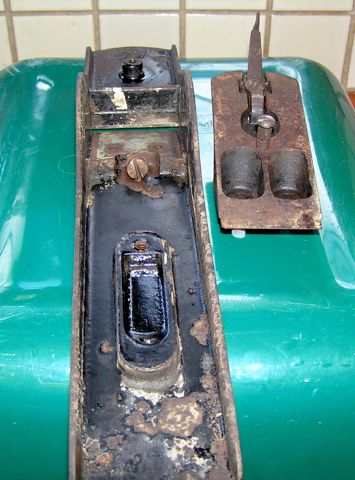
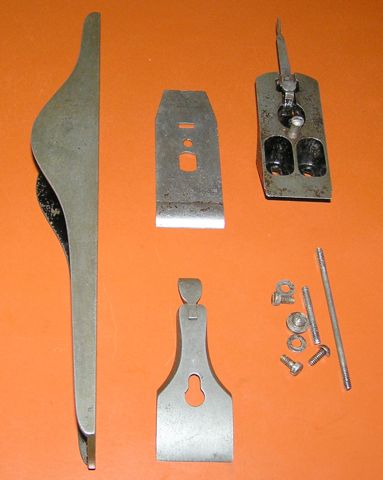
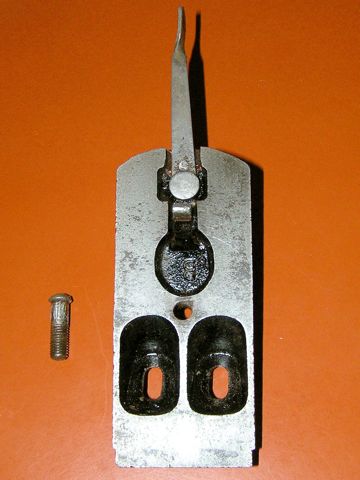
Here’s the base and frog after I disassembled the plane and cleaned off the oil, grease, and dirt. The frog adjustment screw and the lever cap screw were immoveable due to rust.
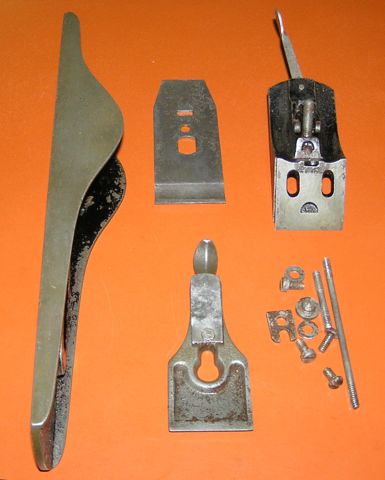
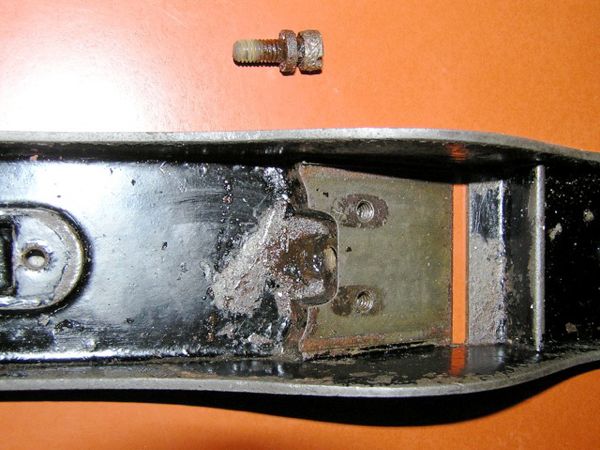
I almost stopped at this point. All the parts looked very rusty and I was worried about pitting underneath. The other side of the parts didn’t look any better.
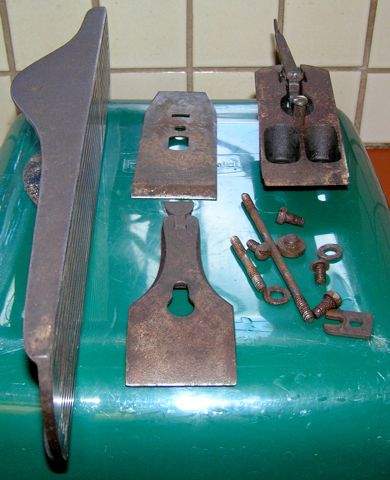
Still, I decided to go ahead. I gave all the parts a citric acid bath (1 part citric acid to 16 parts hot water) for about 4 hours. After 2 hours, I watched the bath carefully to try to get maximum rust removal with minimum metal loss.
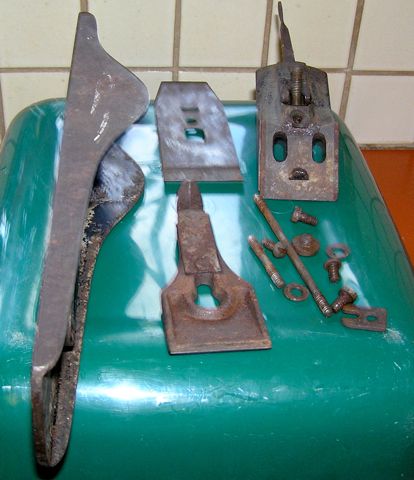
I then cleaned the metal parts with dish soap, a scrub brush and steel wool. (I did not use steel wool on the japanning). This required more effort than usual, but I was satisfied with the results.
The base and lever cap looked better, but those dang screws were still rusted solid in place.
In general, the parts look fairly bright without appearing to be over-cleaned.
There were still a few spots left of the black residue that lives under the red rust. I didn’t worry about that too much and took care of them later with dental picks, some sandpaper, and a ScotchBrite pad.
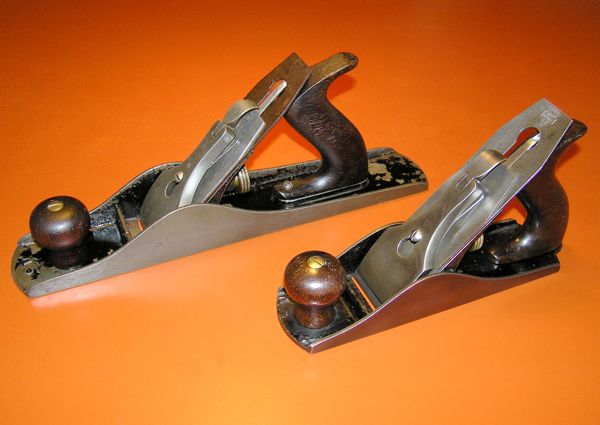
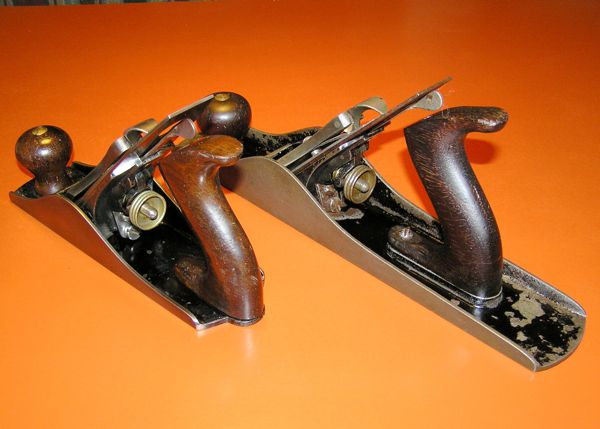
Here is the re-assembled Keen Kutter K5 (behind the K4) in good condition. I had not cleaned the K5 blade at that point. I did that later with fine sandpaper and a wheel since I don’t use usually use citric acid on plane blades (or brass parts). The japanning on the K5 is pretty crummy, but I left it as is for the moment. The rosewood is nice with no breaks or other damage.
Addendum:
Happily, the K5 turned out to be fully salvageable. I’ve was able to get the frog adjustment and lever cap screws loose after considerable effort and application of 3-in-1 Liquid Wrench to both frozen screws.
The frozen lever cap screw wasn’t too bad. I was able to free it the day after I applied Liquid Wrench. I used channel lock pliers and considerable effort (and care) to turn it loose. I did munge up the unthreaded part of the screw shaft a bit with the pliers. I would have been better off using vise grips, but I didn’t have any handy with jaws narrow enough to avoid crushing the threads. Still, the screw was useable after removal.
The frog adjustment screw proved to be much more difficult. I applied Liquid Wrench for six days before the screw would budge. (Note that the Liquid Wrench only made it about 60% down the screw shaft in those six days). I had to use vice grips to get things rolling — about 40 lock-and-turns to rotate it 1-1/2 turns. That burred the head of the screw a bit. Then I used a big brute screwdriver to finish. Again, the screw was still useable when I was done.
Finally, I gave the iron, wood, machining, and alignments a final check. Everything looked good except for the screws and misc. parts. They were still a little rough.
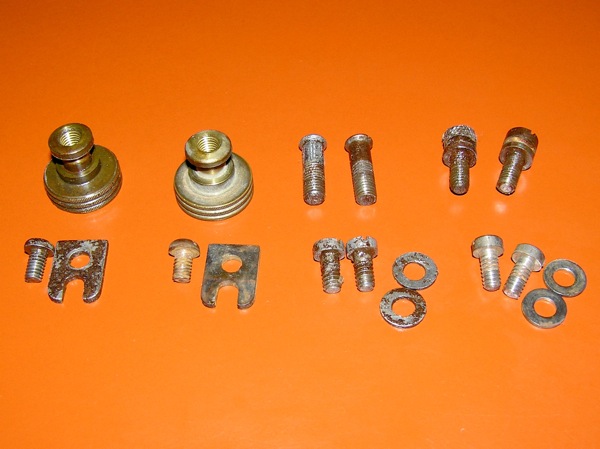
I dug through my parts stash and had no problems finding replacement parts. That’s one thing I really like about this type of Bedrock. Stanley Bailey parts can be used as exact replacements if one has a parts plane from the right era.
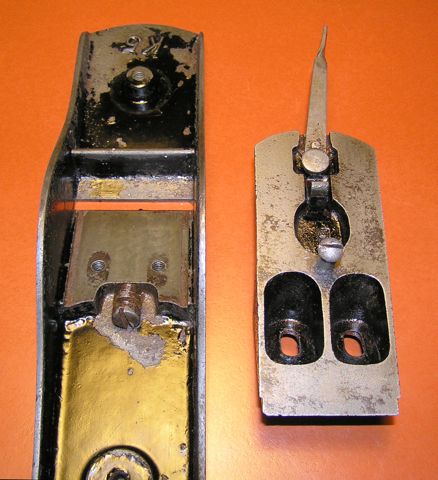
Below you can see the rough K5 parts and and their Stanley Bailey replacements.
I’ll cleaned the replacement parts and installed them. Then cleaned up and sharpened the blade. Although the base could have used used a re-japanning, I held off because that’s one job I dislike.
At this point I had a decent looking Keen Kutter K5 that worked well.
To loosen rusted screws, try an impact drill/driver in reverse, takes some practice so you don’t bugger up the screw slot.
Thanks, Admiral.